在手机上打造随身开发环境:Termux与code-server的完美结合

在手机上打造随身开发环境:Termux与code-server的完美结合
Mice在使用 Linux Deploy 配置Chroot环境时,我发现虽然它提供了便利,但其长期无人维护的问题逐渐显露出来。可选的 Linux 发行版过于老旧,导致一些功能失效,且细节设置也不尽人意。为了解决这些问题,我决定转向 Termux 来配置Chroot环境。这样一来,我不仅能够使用更新的发行版,还能进行更加精细的设置,从而打造出一个更符合我需求的 Chroot 环境。
本文以 Ubuntu 24.04.1 LTS 为例,建立了一个安装了 code-server 的 Chroot 容器,文末会提供一键启动脚本。
测试机: Oneplus 9, Android 14
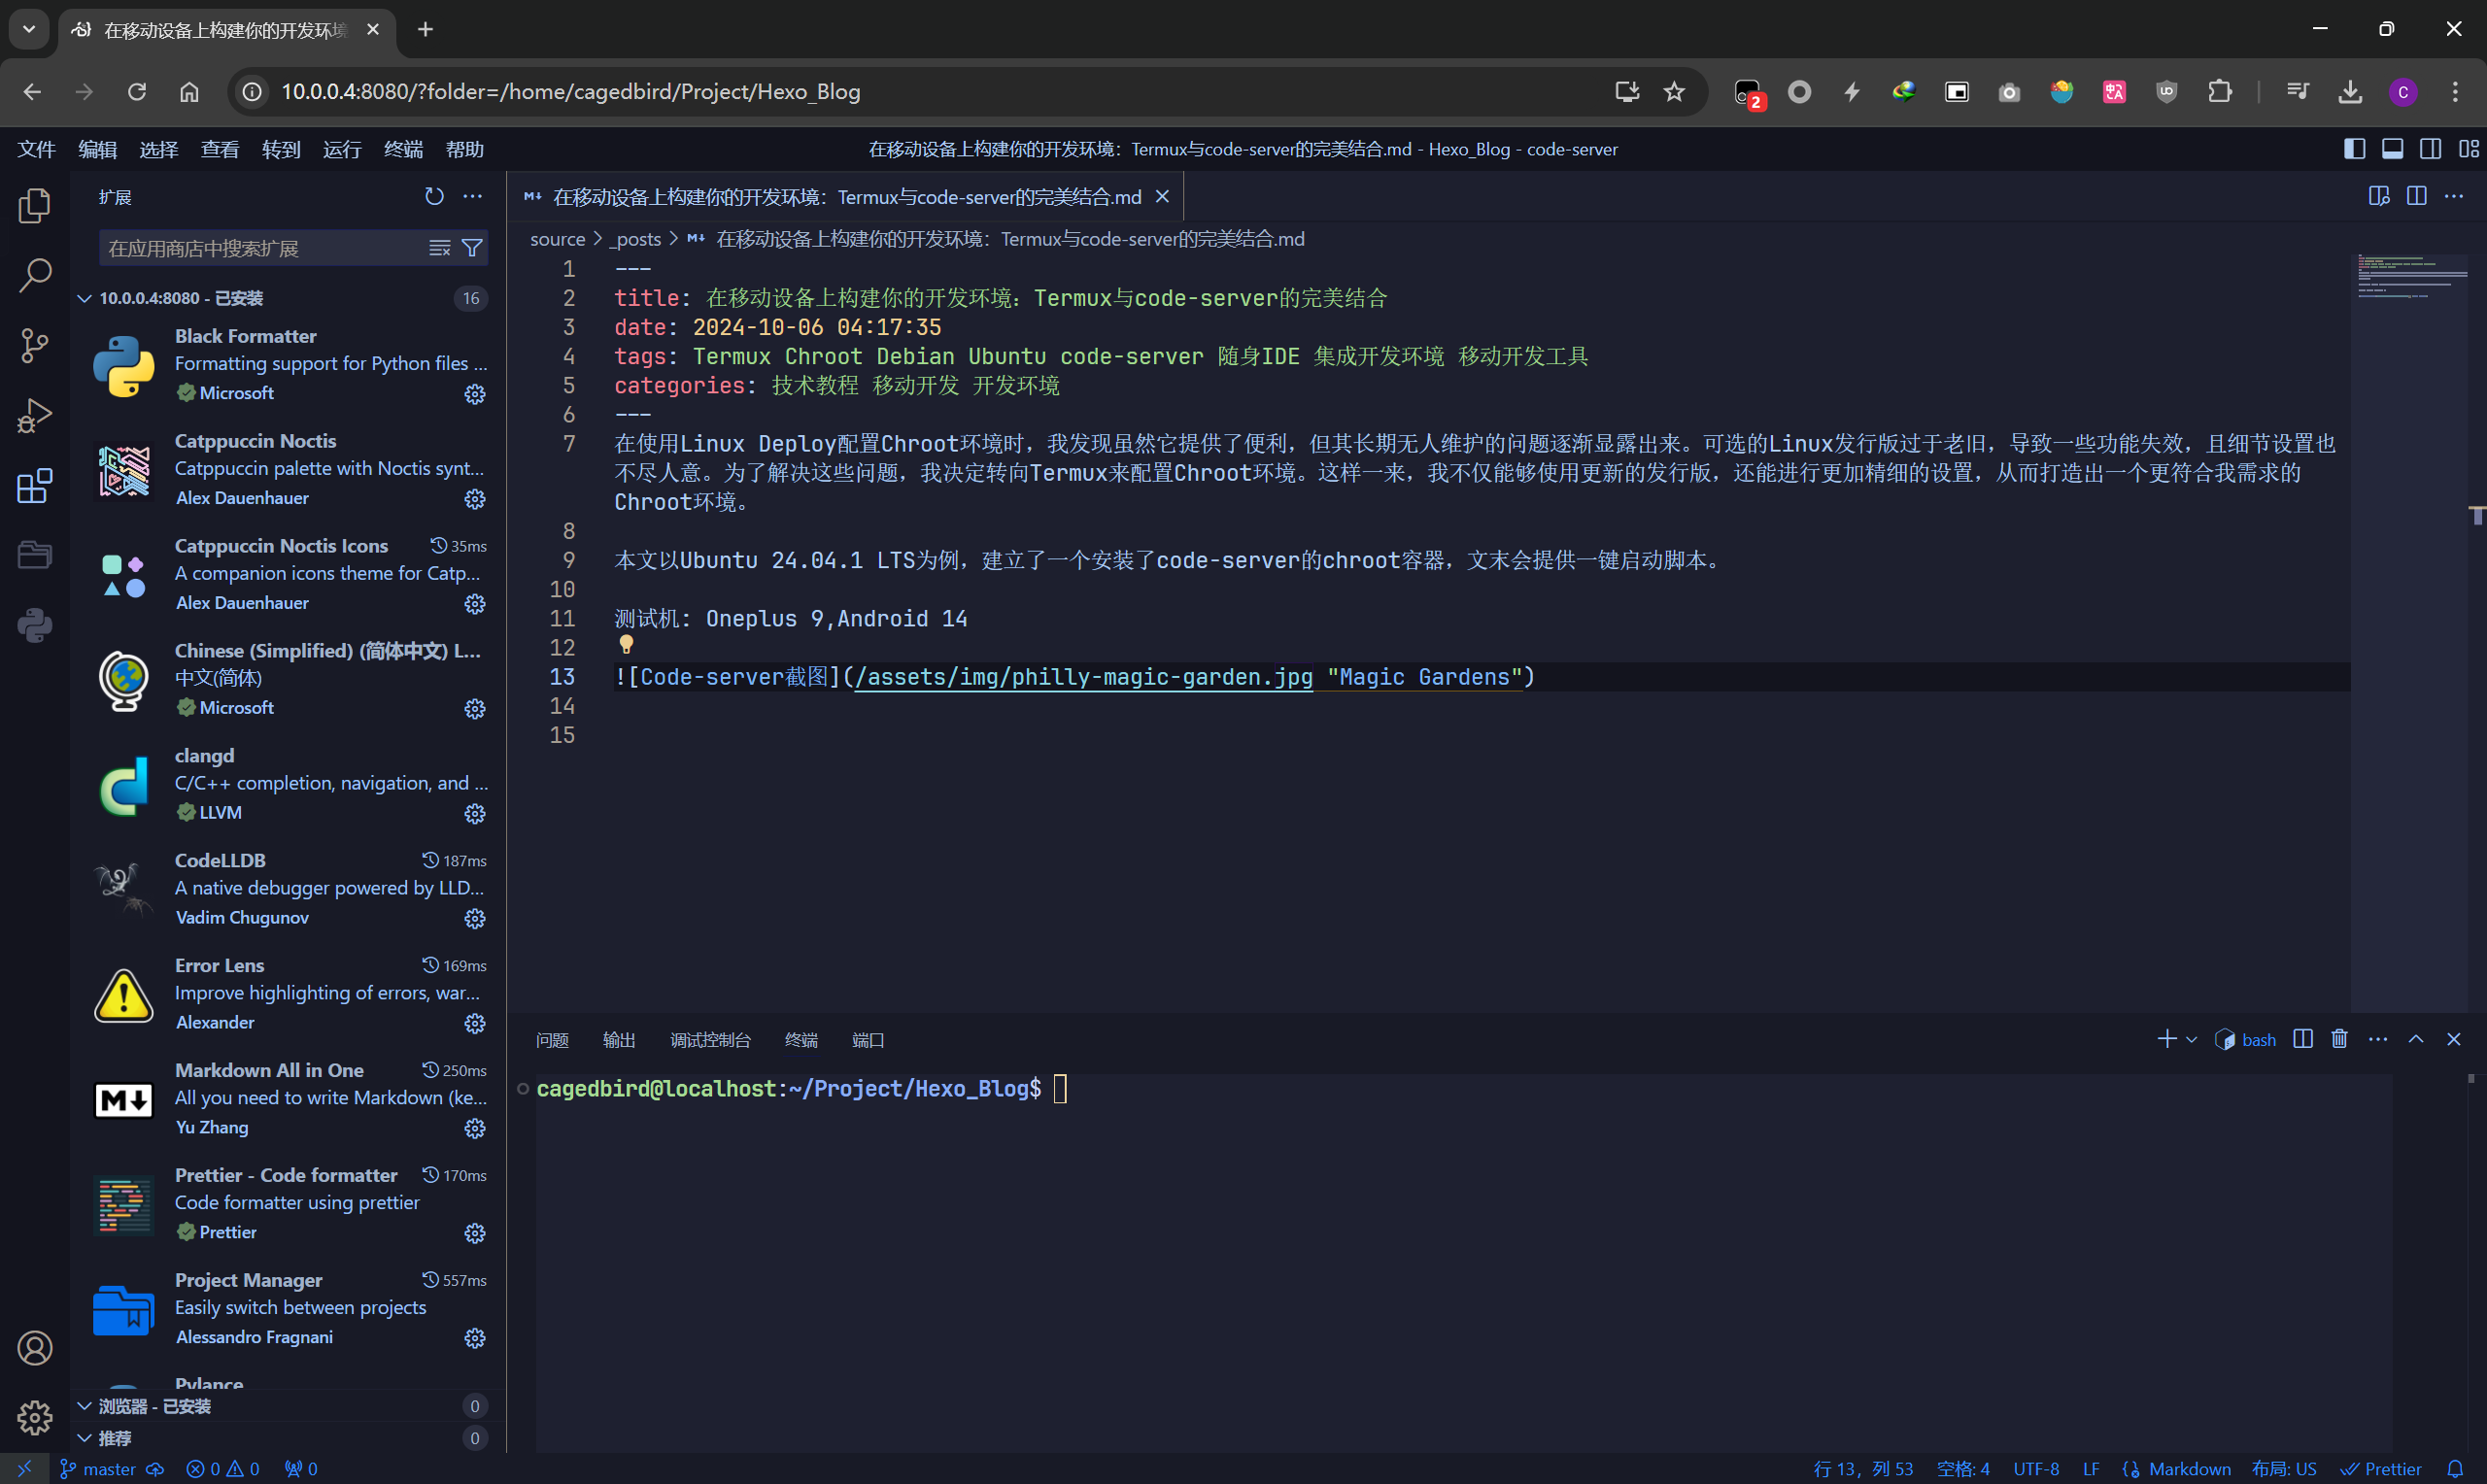
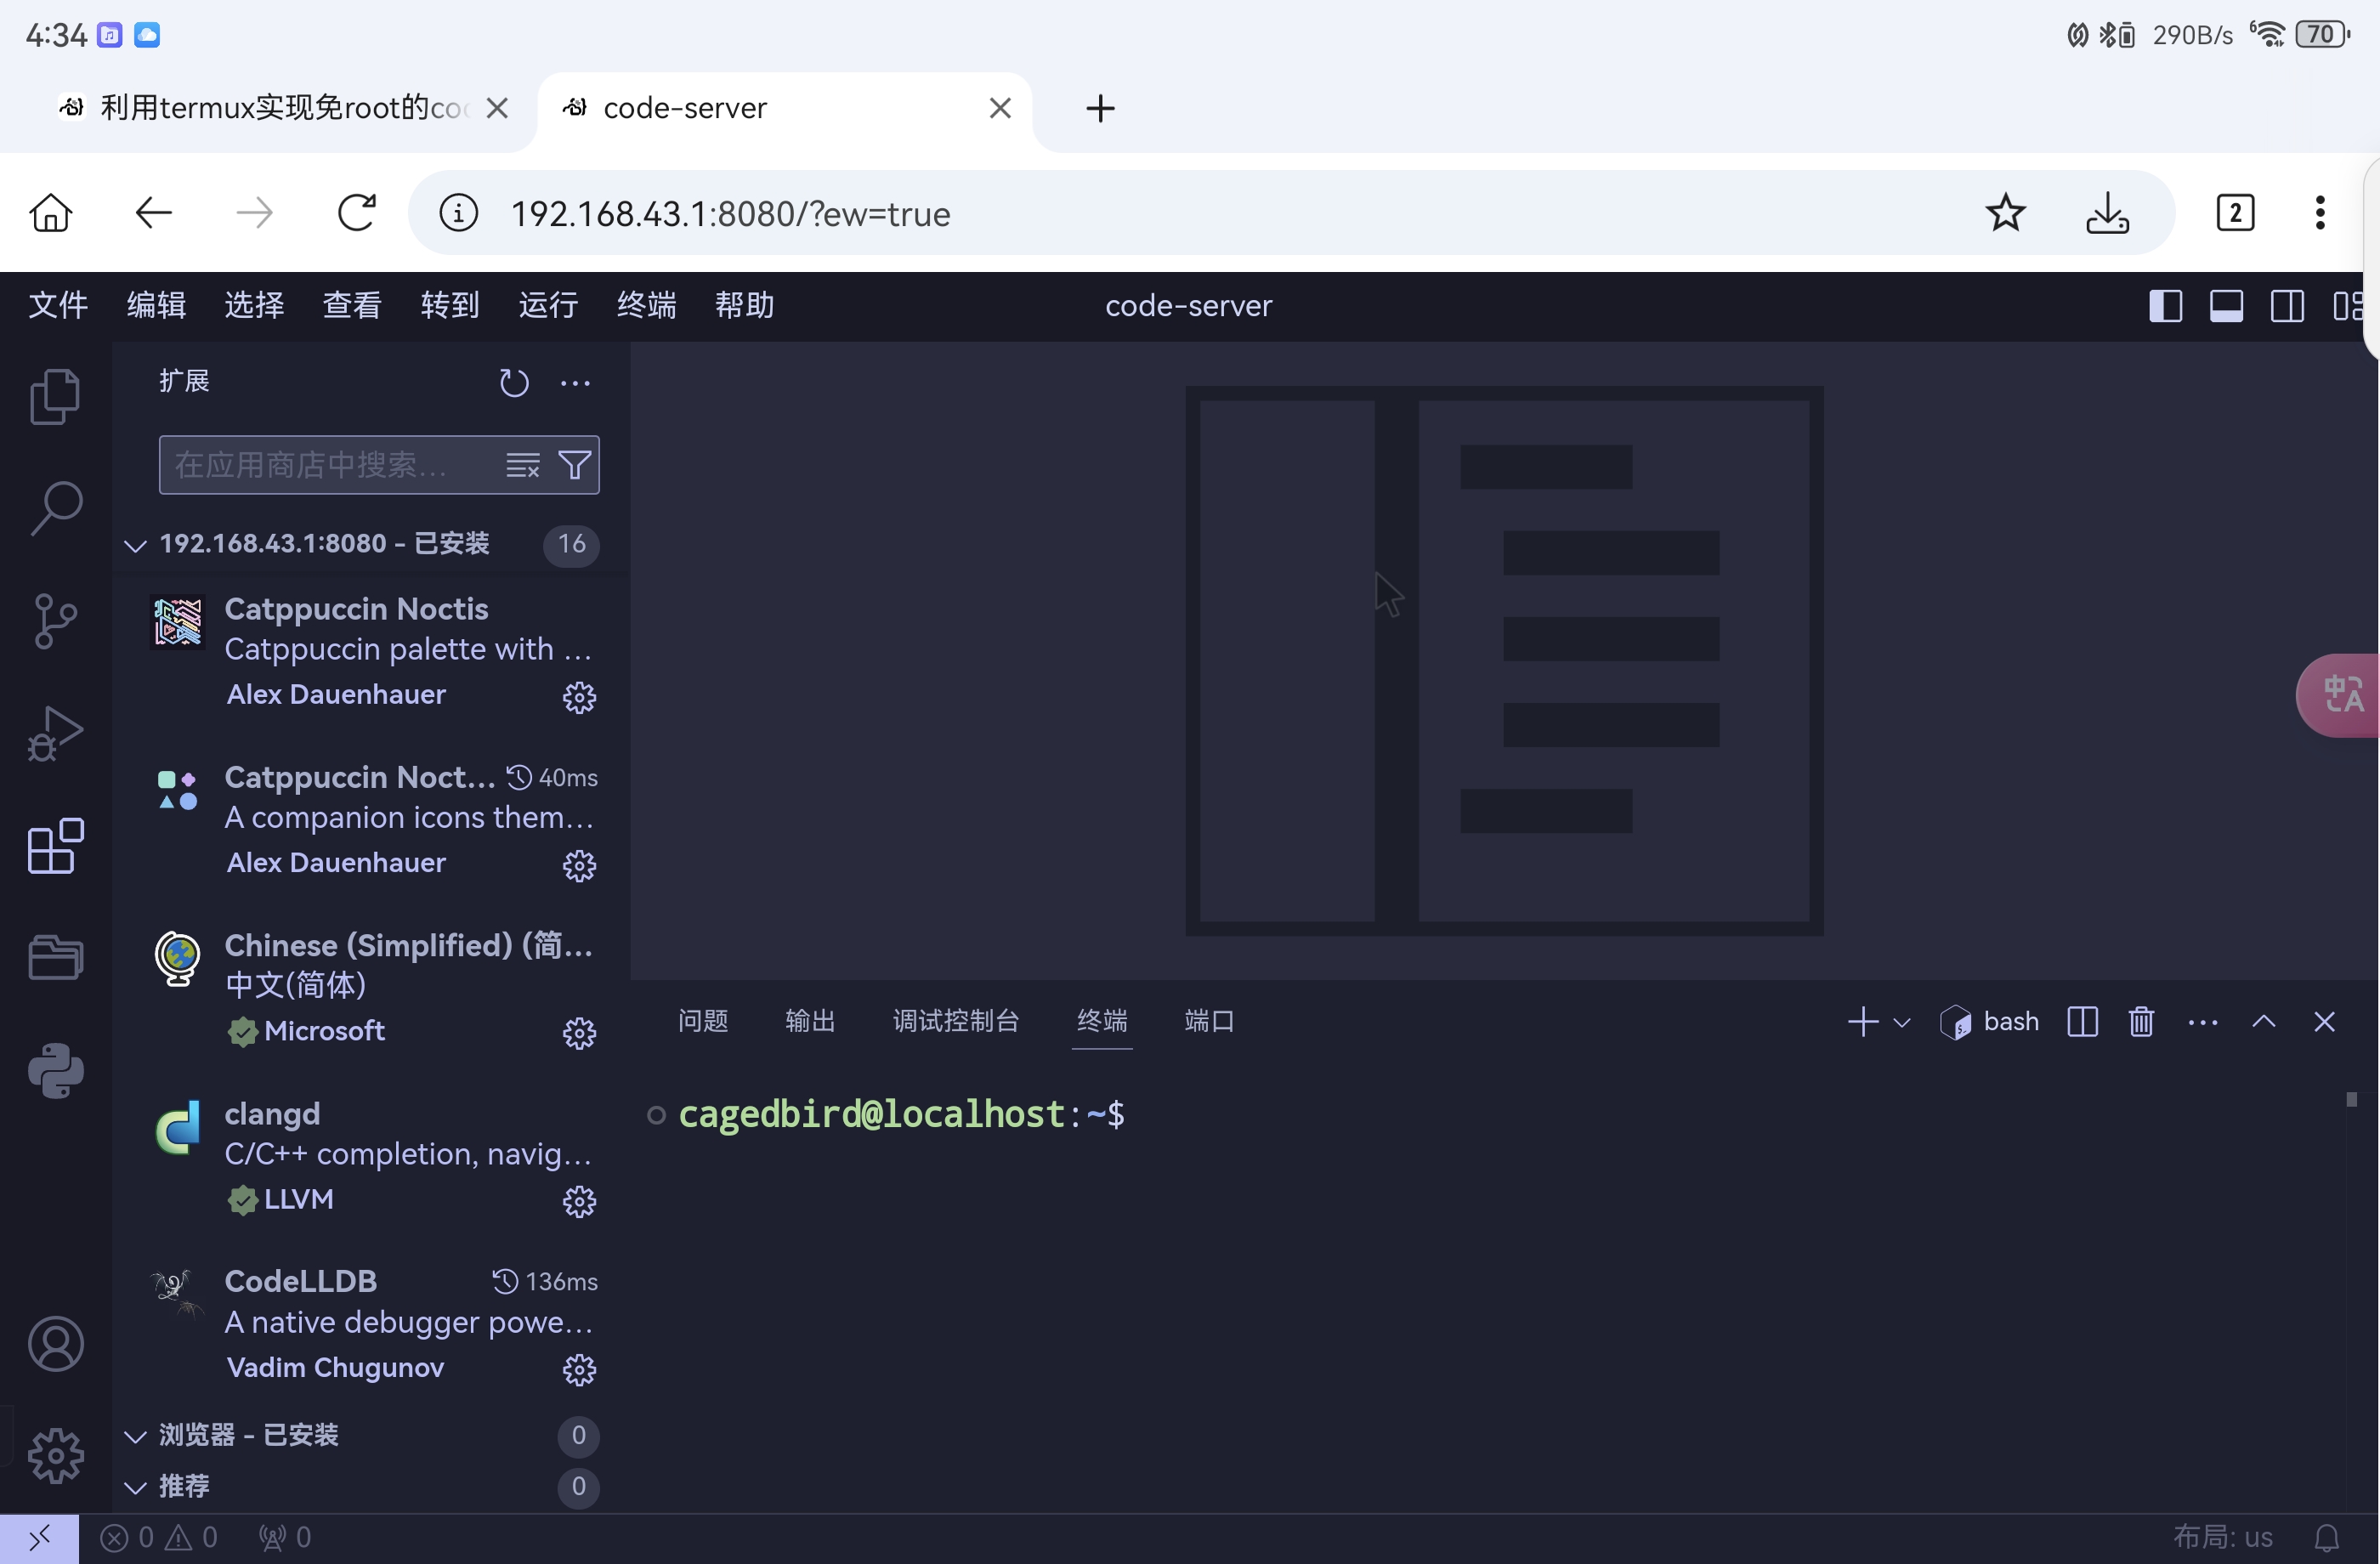
code-server运行截图
1. 硬件要求
一台Android 10及以上系统的手机。
2. 系统要求
3. Termux换源
图形界面(TUI)替换
在较新版的 Termux 中,官方提供了图形界面(TUI)来半自动替换镜像,推荐使用该种方式以规避其他风险。
在 Termux 中执行如下命令
1 | termux-change-repo |
在图形界面引导下,使用自带方向键可上下移动。
第一步使用空格选择需要更换的仓库,之后在第二步选择国内镜像源,如清华大学开源镜像站。确认无误后回车,镜像源会自动完成更换。
4. 安裝Ubuntu Chroot環境
开启Termux,并安装tsu
1
2
apt update
apt install tsu切换到su shell
1
su
选择/data/local/tmp创建chroot目录
1
2
mkdir /data/local/tmp/Ubuntu
cd /data/local/tmp/Ubuntu/data/local/tmp目录的权限问题最少,故选择此目录
下载Ubuntu 24.04.1 base系统的rootfs压缩包
1
wget https://mirror.tuna.tsinghua.edu.cn/ubuntu-cdimage/ubuntu-base/releases/24.04.1/release/ubuntu-base-24.04.1-base-arm64.tar.gz
解压并建立/sdcard的共享点
1
2
3
tar xpvf ubuntu-base-24.04.1-base-arm64.tar.gz --numeric-owner
mkdir sdcard
cd ..新建chroot启动脚本:
1
vi Ubuntu.sh
并填入以下内容:
1
2
3
4
5
6
7
8
9
10
11
12
13
14
15
16
17
18
19
20
21
22
23
24
25
# Ubuntu所在目录
UBUNTUPATH="/data/local/tmp/Ubuntu"
# 解决setuid问题
busybox mount -o remount,dev,suid /data
busybox mount --bind /dev $UBUNTUPATH/dev
busybox mount --bind /sys $UBUNTUPATH/sys
busybox mount --bind /proc $UBUNTUPATH/proc
busybox mount -t devpts devpts $UBUNTUPATH/dev/pts
# 挂载内部存储空间
busybox mount --bind /sdcard $UBUNTUPATH/sdcard
# chroot至Ubuntu
busybox chroot $UBUNTUPATH /bin/su - root
# 取消挂载
busybox umount $UBUNTUPATH/dev/pts
busybox umount $UBUNTUPATH/dev
busybox umount $UBUNTUPATH/proc
busybox umount $UBUNTUPATH/sys
busybox umount $UBUNTUPATH/sdcard授予脚本执行权限
1
chmod +x Ubuntu.sh
进入chroot
1
sh Ubuntu.sh
设置dns和主机名
1
2
3
# 设置AliDNS
echo "nameserver 223.5.5.5" > /etc/resolv.conf
echo "127.0.0.1 localhost" > /etc/hosts授予socket权限以便chroot容器联网
1
2
3
4
5
groupadd -g 3003 aid_inet
groupadd -g 3004 aid_net_raw
groupadd -g 1003 aid_graphics
usermod -g 3003 -G 3003,3004 -a _apt
usermod -G 3003 -a root更新Ubuntu软件源和系统并更换镜像源
1
2
3
4
5
6
7
8
9
10
11
12
13
14
15
16
17
18
19
20
21
cat /dev/null > /etc/apt/sources.list
touch /etc/apt/sources.list.d/debian.sources
echo '
Types: deb
Types: deb
URIs: https://mirrors.tuna.tsinghua.edu.cn/ubuntu
Suites: noble noble-updates noble-backports
Components: main restricted universe multiverse
Signed-By: /usr/share/keyrings/ubuntu-archive-keyring.gpg
Types: deb
URIs: http://security.ubuntu.com/ubuntu/
Suites: noble-security
Components: main restricted universe multiverse
Signed-By: /usr/share/keyrings/ubuntu-archive-keyring.gpg
' > /etc/apt/sources.list.d/ubuntu.sources
apt update&&apt upgrade -y
apt install vim net-tools sudo git新增普通用户及本地化
1
2
3
4
5
6
7
8
9
10
11
12
13
14
15
16
17
18
19
20
21
# 设定时区为中国上海
ln -sf /usr/share/zoneinfo/Asia/Shanghai /etc/localtime
# 修改root密码
passwd root
# 新增普通用户
groupadd storage
groupadd wheel
useradd -m -g users -G wheel,audio,video,storage,aid_inet -s /bin/bash user
passwd user
# 編輯:vim /etc/sudoers,在root ALL=(ALL) ALL的下一行加入以下內容:
user ALL=(ALL:ALL) ALL
# 切换到普通用户
su user
# 安装locales并切换为简体中文
sudo apt install locales
sudo locale-gen zh_CN.UTF-8卸载并禁止Snap
卸载snap
1
sudo apt autopurge snapd
禁止snap安装
1
2
3
4
5
6
7
8
cat <<EOF | sudo tee /etc/apt/preferences.d/nosnap.pref
# To prevent repository packages from triggering the installation of Snap,
# this file forbids snapd from being installed by APT.
# For more information: https://linuxmint-user-guide.readthedocs.io/en/latest/snap.html
Package: snapd
Pin: release a=*
Pin-Priority: -10
EOF设置一键启动脚本
Termux有一个好用的插件,叫作 Termux:Widget,这个插件可以在桌面创建启动脚本的快捷方式,按如下步骤操作
退出chroot环境
1
exit
为Termux授权 [显示在其他应用上方] 权限
编辑chroot启动脚本
1
sudo vim /data/local/tmp/Ubuntu.sh
将 busybox chroot $UBUNTUPATH /bin/su - root 中的root改成你的用户名。
新建快捷方式脚本
1
2
3
touch ~/.shortcuts/Ubuntu
chmod +x ~/.shortcuts/Ubuntu
vim ~/.shortcuts/Ubuntu填入如下内容
1
2
3
4
5
6
7
8
9
10
export ASH_STANDALONE=1
su -c cmd wifi force-low-latency-mode enabled
echo "启用Wi-Fi低延迟模式"
su -c busybox mount --bind $PREFIX/tmp /data/local/tmp/ubuntu/tmp
su -c "sh /data/local/tmp/startu.sh"
su -c cmd wifi force-low-latency-mode disabled
echo "禁用Wi-Fi低延迟模式"回到手机桌面,拖动Termux:Widget小部件到桌面
5. 安装code-server
进入chroot,执行如下命令,若curl报错请确定自己是否开启了科学上网工具,这里暂不介绍其如何使用
1
curl -fsSL https://code-server.dev/install.sh | sh
先启动code-server以自动创建配置文件
1
code-server
配置code-server使用微软官方marketplace
由于微软的用户政策使得开源版本的code都不被允许使用微软官方的插件商城,导致开源版本的code只能使用开源的marketplace,其中很多插件版本过旧,无法使用,因此我在这里附上如何修改内置的marketplace
1
2
vim ~/.bashrc
//sudo vim /etc/profile //修改这个文件也可以向文件中插入一行
1
export EXTENSIONS_GALLERY = "{"serviceUrl": "https://marketplace.visualstudio.com/_apis/public/gallery","itemUrl": "https://marketplace.visualstudio.com/items"}"
修改code-server监听地址和密码
1
vim ~/.config/code-server/config.yaml
改为如下内容
1
2
3
bind-addr: 0.0.0.0:8080 //0.0.0.0是允许局域网设备访问的ip地址
auth: none //无密码,不建议为它设置密码,由于使用环境较为安全,密码没有什么意义
cert: false //无加密,局域网SSL证书过于麻烦启动code-server并用浏览器访问
1
code-server
此时可以在本机浏览器测试,输入localhost:8080即可
其他局域网设备则输入ip:8080
(可选)配置Chrome/Edge浏览器以完全启用网页端code-server功能
访问Chrome://flags或Edge://flags,并搜索Insecure origins treated as secure,在下面输入http://ip:8080,此后再访问就不会提示不安全和部分js脚本无法正常执行具体vscode的配置过程这里暂时不介绍了
6. 安全退出和删除Chroot环境
- 退出chroot环境
1
exit
- 如何安全删除chroot环境
请务必在exit后并确定取消挂载一切chroot相关目录后删除chroot文件夹,本例中文件夹在/data/local/tmp/Ubuntu,否则可能会导致/sdcard甚至系统文件被删除,最稳妥的方式是重启后删除,重启后所有挂载都会重置

